

[ad_1]
A new mystery surrounding the Vex is ours to solve in Destiny 2. Here is how to complete every step of the A Rising Chorus quest in Destiny 2.
Step 1: Begin your research with Failsafe in the H.E.L.M. in Destiny 2
The very first step in A Rising Chorus will probably be already done given that the whole quest unlocks after completing A Familiar Face, the intro quest that introduces Nessus’s strange Vex activity and the Breach Executable mission. So, you are pretty much done with this step. Moving on!
Step 2: Investigate the locations Failsafe marked on Nessus in Destiny 2
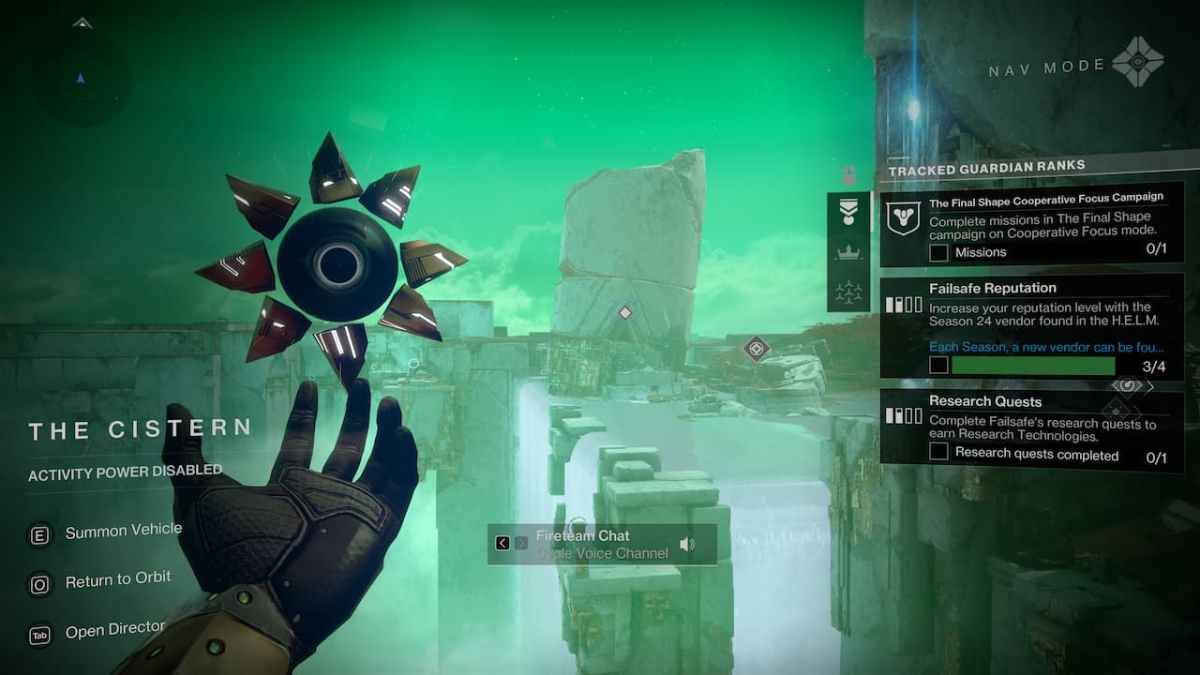
This will be the actual first on-the-field step for Guardians to complete. You will have to collect three different samples from Nessus – named first, second, and third samples; Failsafe is very practical with naming apparently. So, let’s head out to Nessus and travel to The Cistern landing zone.

Thankfully, Failsafe has done most of the job for us, and all the samples are already located. You will see the on-screen marker directing you toward the Well of Flame, so travel there using your Sparrow, otherwise the whole Radiolaria sea will end up killing you in the process.


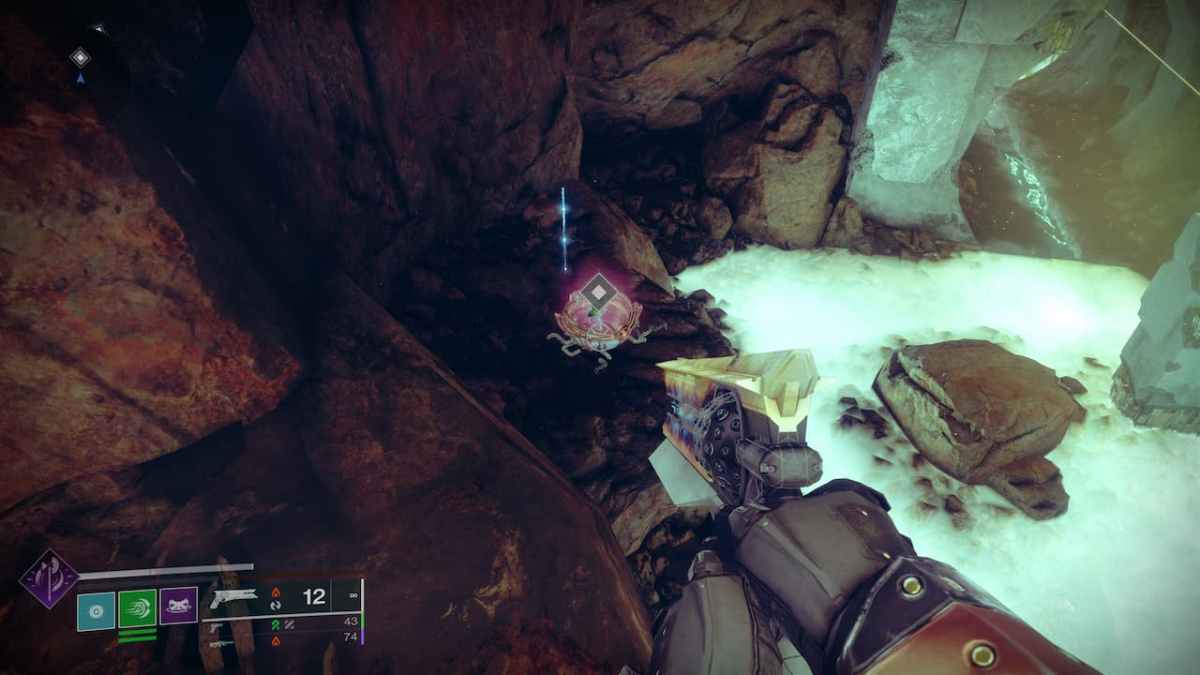
Head inside and jump down the huge well – don’t forget to double jump unless you want to become Guardian mash potatoes. Down the well, you will find a portal and the first sample you need to collect. Do so and then go through the portal.


On the other side of the portal, look down to your left and you will see the second sample waiting for you and some Radiolaria below, so tread lightly.
Follow the tunnel and you will get to a room that looks like it was built specifically for a boss fight, but that’s probably just my imagination, right? Anyway, drop down and you will find the final sample.


Step 3: Collect unusual specimen in Destiny 2
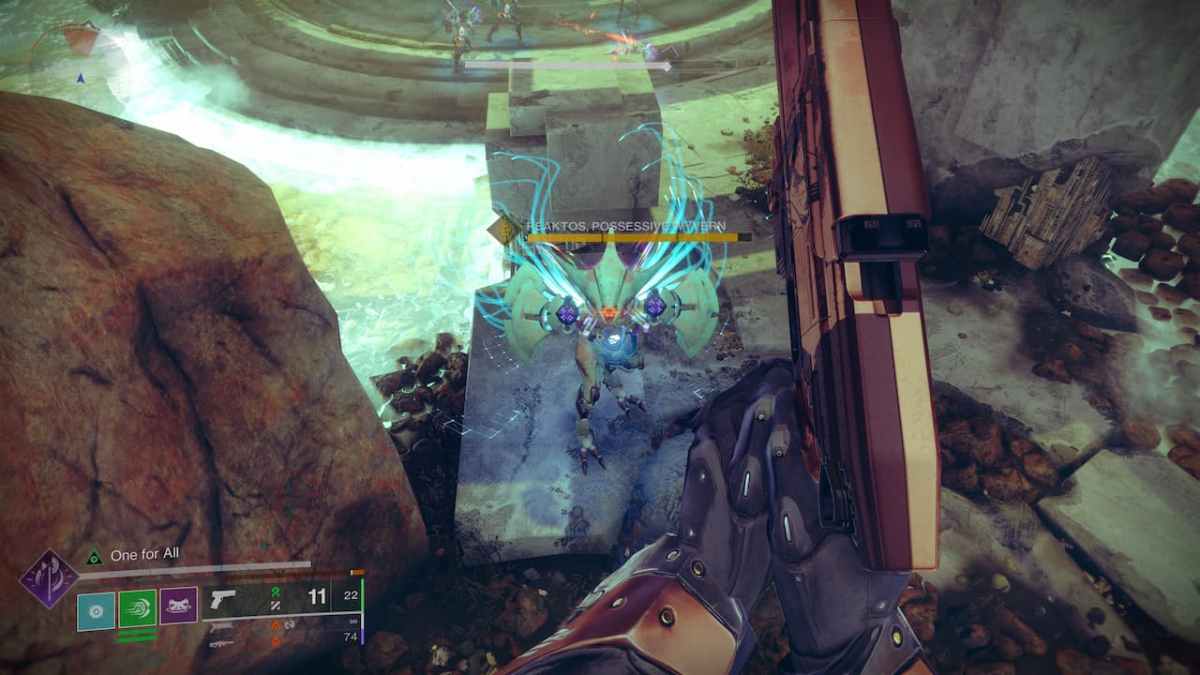
After collecting the third and final sample, the Vex will try to trap you and a Wyvern and a bunch of Vex will appear – I knew it wasn’t going to be so easy. The fight itself is pretty easy, just shoot at every Vex that appears and take care of the Wyvern with heavy weaponry.
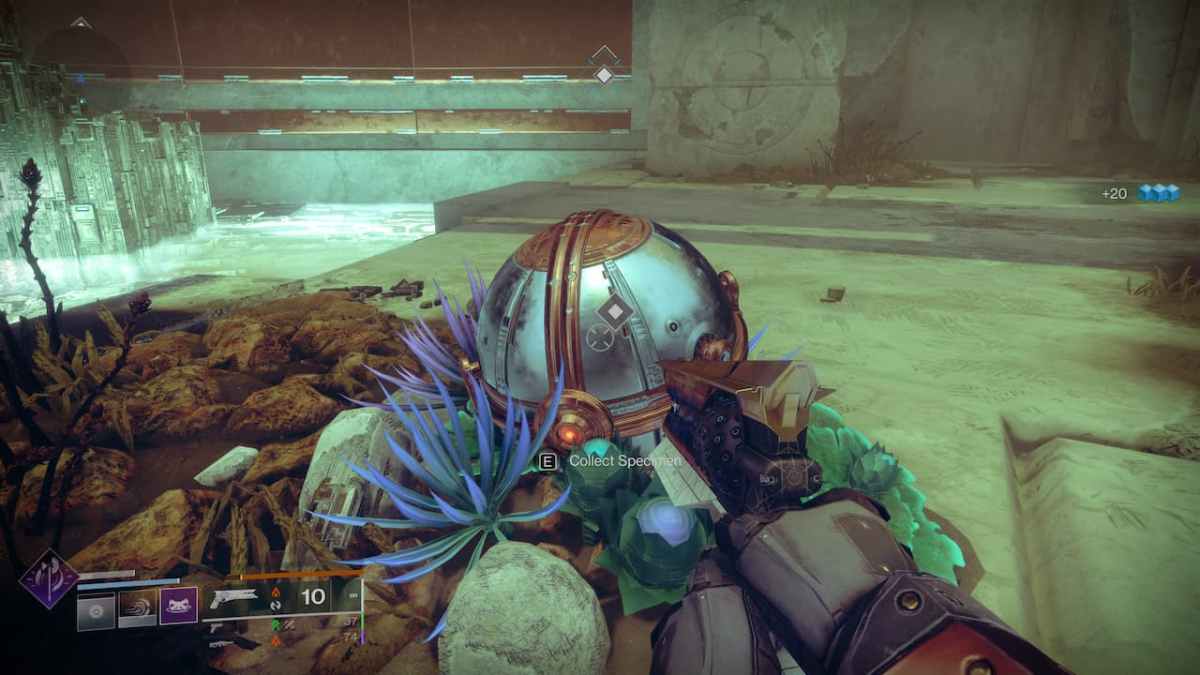
Once you are done with every single Vex, you will find that the unusual specimen is lying on the floor. Convenient, I know. Take it now and you will have everything you need to return to the H.E.L.M. and talk to Failsafe.
Step 4 & 5: Take and discuss the research specimen with Failsafe in Destiny 2

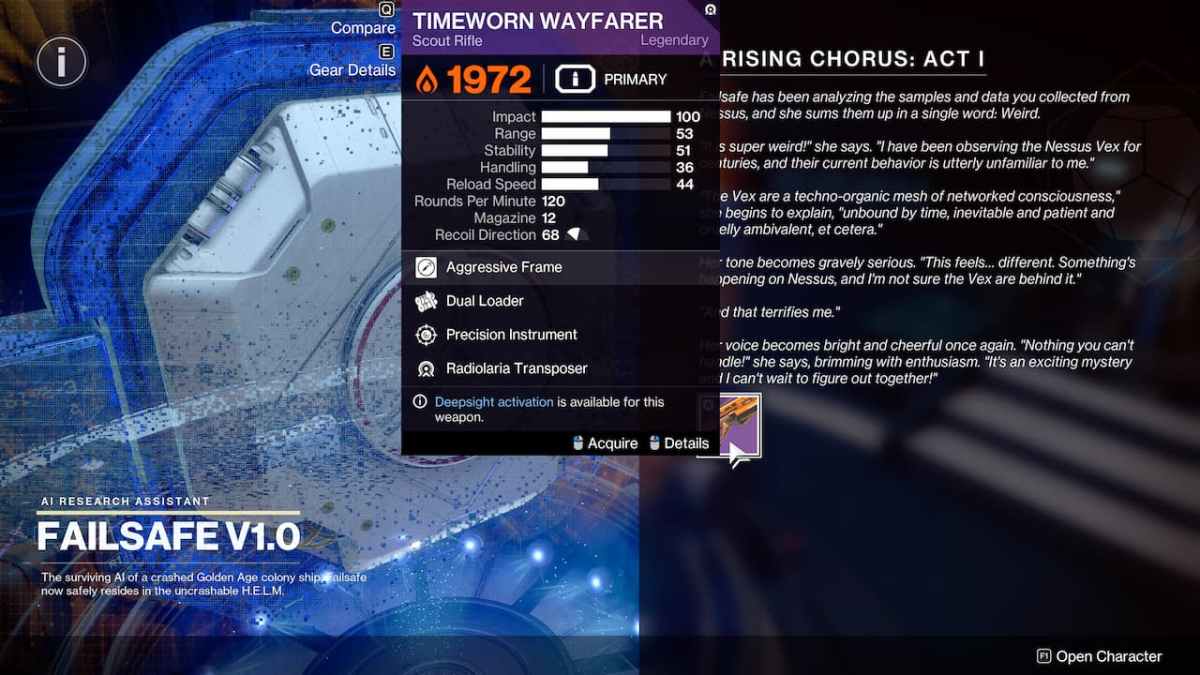
The only thing you need to do is to report to Failsafe by interacting with her and she will note that the identity behind the Vex’s strange behavior is a mystery that we will probably want to research more. The specimen we collected will be named NES001 and will open up a new quest and feature in the H.E.L.M.: the Radiolife Research Bay. She will also reward you with a Timeworm Wayfarer scout rifle and then leave you to be.
Step 6: Failsafe is analyzing the data in Destiny 2
This is the classic step that every Destiny 2 Guardian has received throughout the many years of the game. It means that we need to wait for next week’s reset to continue progressing through the quest. There are 25 total steps to the A Rising Chorus quest, so make sure to come back here and log in to Destiny to continue with our walkthrough. You will also receive the Encoded Log quest which will unlock the Enigma Protocol mission, so you will probably want to do that in the meantime!
[ad_2]
Source link


")
